There’s a real debate on the internet around the correct Facebook event photo size.
This is why we’ve made sure to provide you with the best size for the Facebook event cover image, so don’t have to deal with this matter ever again.
In this article, you’ll also find a collection of Facebook event image templates that our design team has put together. You can choose between our ready to use templates and not worry about deciding on the Facebook event image size.
Lastly, I outlined a few tips and tricks that will help you create spectacular cover images and Facebook events pages.
Whether you’re organizing an online or offline event, use our ideas to create a crisp Facebook cover image, and then start promoting your event.
What Is the Facebook Event Photo Size?
The minimum recommended Facebook event cover photo size is 1200 x 628 pixels.
That is a 1.91:1 ratio, to be more precise.
However, to make sure your Facebook event cover displays clearly on retina screens, which are more pixel-dense, you can go for the 1920 x 1005 pixels size, which is the same ratio.
I’ve seen many failed Facebook event covers.
Some were too small to fit the space that Facebook offers for an event header, so they were stretched to the maximum and lost their quality.
Others were simply not created on a landscape view, were too tall, and got their top area cut down by Facebook.
To avoid these kinds of mistakes, make sure you stick with the Facebook event cover size I mentioned above.
That way, every time you create a Facebook event, you know you’ll end up with the perfect Facebook cover image.
Facebook Event Cover Image Templates
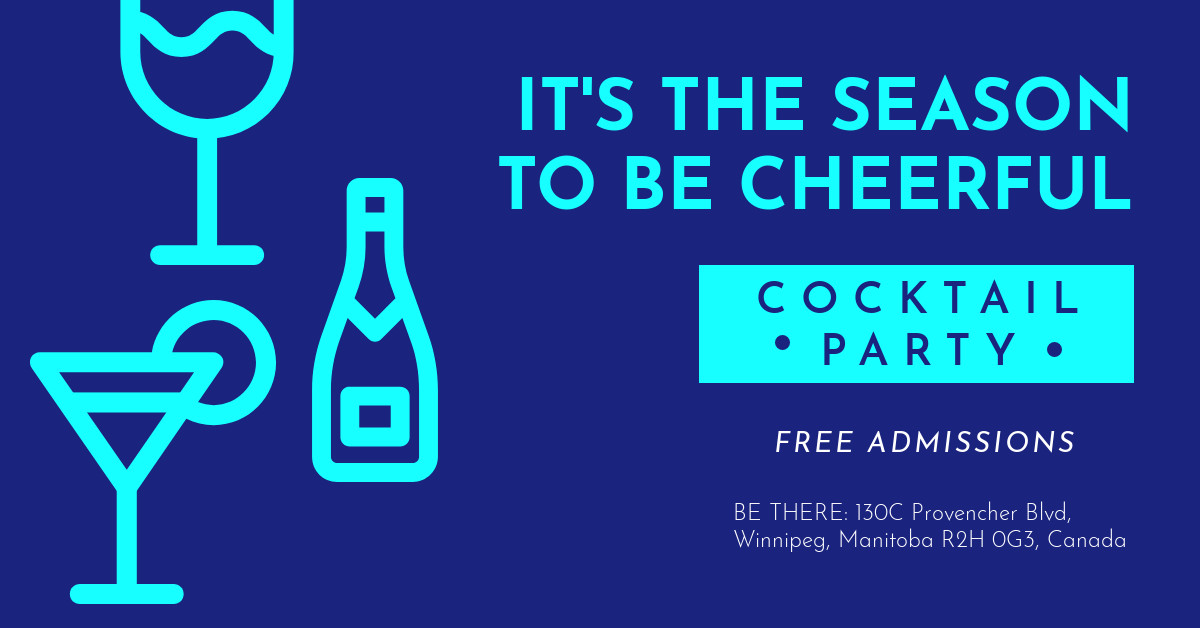
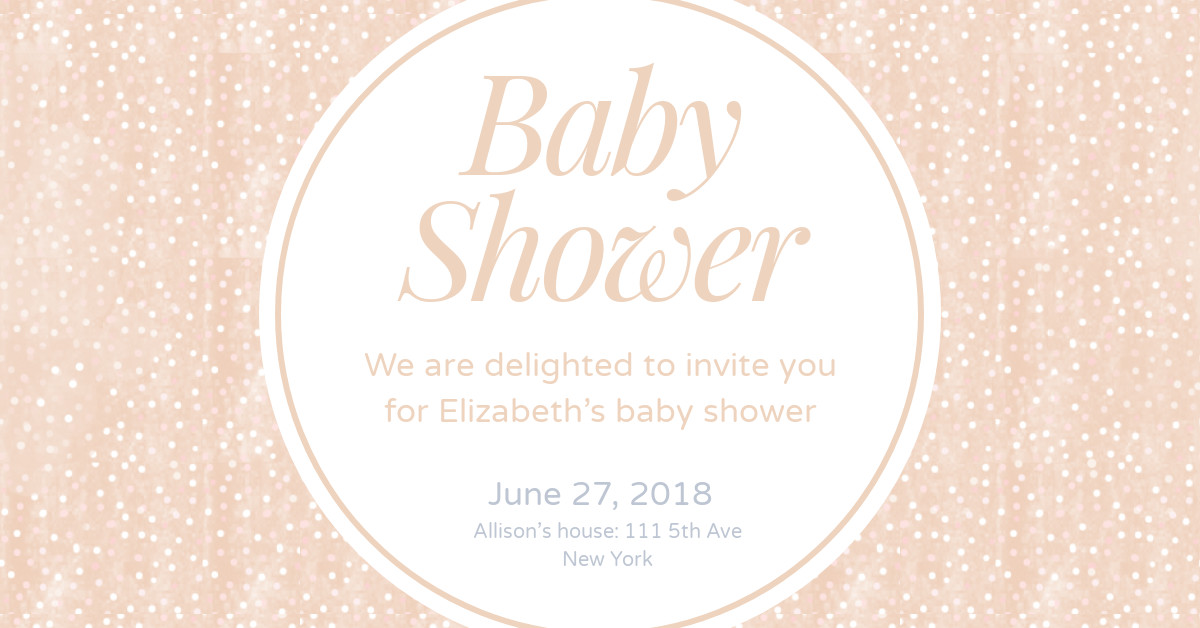
Our design team has created dozens of beautiful Facebook event cover image templates.
If you find a template you’d like to use, simply click on it to start editing and customizing it right away in Bannersnack.
Alternatively, you can create your own Facebook event cover image from scratch. Upload your own photos, logo, and add all the details for the attendees.
Then, simply download it to your computer and upload it to the Facebook event page.
Tips & Tricks to Create a Stunning Facebook Event Cover
1. Use a compelling image
Your event will appear in people’s newsfeeds, on your page, and in Facebook’s event suggestions.
Unless you have an appealing image, your event will be left unnoticed.
Instead of using the same stock images that everyone else is using, try using a photo that you or someone from your team has taken.
The photo needs to be high-quality and representative of your brand.
Credit: Wellness Festival
2. Add the date and venue of the event
This one goes without saying, but in a rush to post something on Facebook, some people may forget elementary steps.
That being said, don’t upload your Facebook event cover image unless you’ve added all the information about your event.
Also, make sure you’re using a cool font that’s legible and draws attention.
Credit: Moishe House
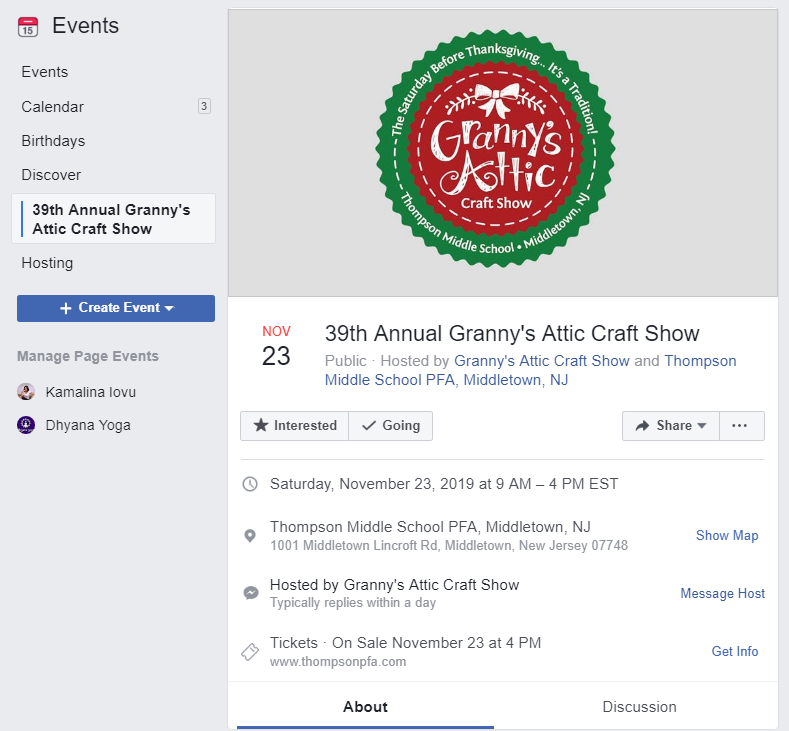
3. Use branding elements to make the event easily recognizable
Use your brand’s logo, name, color palette, and fonts to help people to recognize your brand.
Whether you’re creating a photo cover or an illustration, your brand signature is a must.
Credit: Granny’s Attic Craft Show
4. Find an appealing name for your event
Never organize an event without a high-sounding name. Never create a Facebook event without a name.
The name of the event will be the first thing that will inform the people about what’s going on, and what type of event you’re hosting.
So choose a name that is both explanatory and creative and place it center-stage of your cover.
Credit: Madonna
How to Create an Event on Facebook
Creating a Facebook event is simple.
However, there are a few secrets that can boost your reach and encourage conversations around your event.
Here they are:
1. Go to the Events section of your page
2. Click Create Event and start filling in the details
Upload your cover image, add a name for your event, a location, and a compelling description.
The first paragraph of the description will be shown in people’s feeds, and it will be the first thing that people see when they visit your event.
So make sure that you add the most essential information in the first few sentences. Moreover, make it creative enough for people to want to know more.
If you’ve got an impressive venue, tell them about the site.
If your event’s goal is a charitable action, start with a heart-melting sentence. You get the picture.
Then, set the date and hours.
3. Add your collaborators to the event for a broader reach
If you’re co-hosting the event with someone else, type in their page name and make sure you’re tagging them as a co-host.
This will allow you to reach your co-host’s followers as well and gain broader visibility.

4. Select posting permission
It’s always a good idea to post regularly on the event’s timeline to keep people updated about upcoming news.
If you want to be the only one posting in your event and avoid uncomfortable discussions, select Only admins can post.
However, if you’d like to give everyone a chance to ask questions and post in your event, then select Anyone can post.
5. Hit Publish.
Get the Event Started
Now you know the correct Facebook event photo size, have a dozen templates to choose from and received the best tips to set up your event page.
You’re all geared up to publish your event on Facebook.
So go ahead—launch your event and get people excited to join you, whether it’s online or offline.
Illustration by Anita Molnar.


Praveen Rathour
July 12, 2019Hello, Diana Guta
Thanks for your Help about The Photo size used on Facebook Event..
Antone Queso
October 5, 2019Um, the correct dimensions for facebook cover images are 1920×1080…
Ana Darstaru
June 9, 2020Hi, Antone. The minimum recommended Facebook event cover photo size is the one we mentioned in this article: 1200 x 628 pixels. This information is also available in Facebook’s help center.
yonx
September 4, 2020This is usefull since we need banner to attract more attention to audience
Wanda
November 6, 2020This size results in blurry bullcrap. Why can’t facebook just be upfront with us about what sizes and file typs are best and stop changing them every other month.
Wanda
November 6, 2020Also the 1920 by 1080 is only less blurry, but 1200 by 628 is mega ultra blurry. My png files looks crisp as fall everywhere else.